I love books; the feel, the spicey smell, the excitement of turning the pages to find out what happens next. I've always wanted to learn to bind my own books, but realized I don't really have the patience for it. I do, however, have the patience for a bookbinding for dummies type of technique.
Step 1: Gather some paper. I used 12x12 in scrapbook paper cut in half here, but printer paper, drawing paper, construction paper all work. Fold four sheets of paper in half and use a ruler to make a sharp crease.
Step 2: Gather a needle and some thread. Professional bookbinders have their own specific tools they use, but I don't have any money, so I used a bigger sewing needle and the thread from a sewing kit. Depending on the paper you're using, you might need an awl to poke a hole, but I was able to push the needle through four sheets of paper without a problem. Stitch along the crease to bind the pages together. Now you have a little mini book!
Continue to bind the paper until you have several mini books. I made thirteen of these.
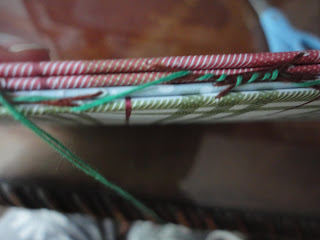
Step 3: Using the same needle and thread, sew the bindings together, so all of the mini books are attached into one book.
This is what it will look like when all sewn together. It's not the prettiest binding, but it does the job. I now have a 104 page book!
This project took approximately an hour and forty-five minutes, blogging time included. It's a fun little activity for a rainy day. It's a nice gift as a journal, or as a scrapbook. Convenient, as mine is made of scrapbook paper!


No comments:
Post a Comment